


Building a react app can be quite interesting if you could just think at once all the state you'll need in making your application, but we most times realize that's not the case. So in this article, i will talk about useState hook in react, how we can use and harness its power, so with out any further ado, let's jump right into it.
Before the main subject which is the useState hook, let me just say something about State in react
State is simply a JavaScript object that holds information that will affect the rendering of the component in applications.
Diving in
Now, to use the useState() hook, we need to first import it from react
import React, { useState } from 'react';
Now that we have imported useState from react, let's look at the default format of a useState hook
const [state, setState] = useState(initialValue);
The initialValue can be any data type in JavaScript for example numbers, string, Boolean, arrays, object
const [name, setName] = useState("Yoma")
Tip 1
The useState() hook is just a way of declaring variables in react
const [count, setCount] = useState(4);
Equivalent JavaScript code
const count = 4;
The advantage of using the useState() hook is that it gives us a setter-function which is used to update the initialValue
Tip 2
This is more of a rule: React Hook useState should not be called CONDITIONALLY, IN LOOPS OR NESTED IN ANYTHING,
import React, { useState } from 'react';

function App {
      //wrong
      if(true){
           const [amount, setAmount] = useState(null);
      }
     return (
           <h1> Hello world </h1>
      )
}
Tip 3
The useState() hook should be called at the top level of our functions always called in the exact same order
function App {
   const [name, setName] = useState("Amminat");
   const [theme, setTheme] = useState(null);
   const [post, setPosts] = useState([]);

     return (
           <p>Hello { name }</p>
      )
The code above gives Hello Amminat
Tip 4
The useState() hook can only be used in Functional Component and not in Class Components
function App = () =>  {
     const [name, setName] = useState("functional Component")

     return (
           <p>This is a {name}</p>
      )
The code above gives This is a functional Component
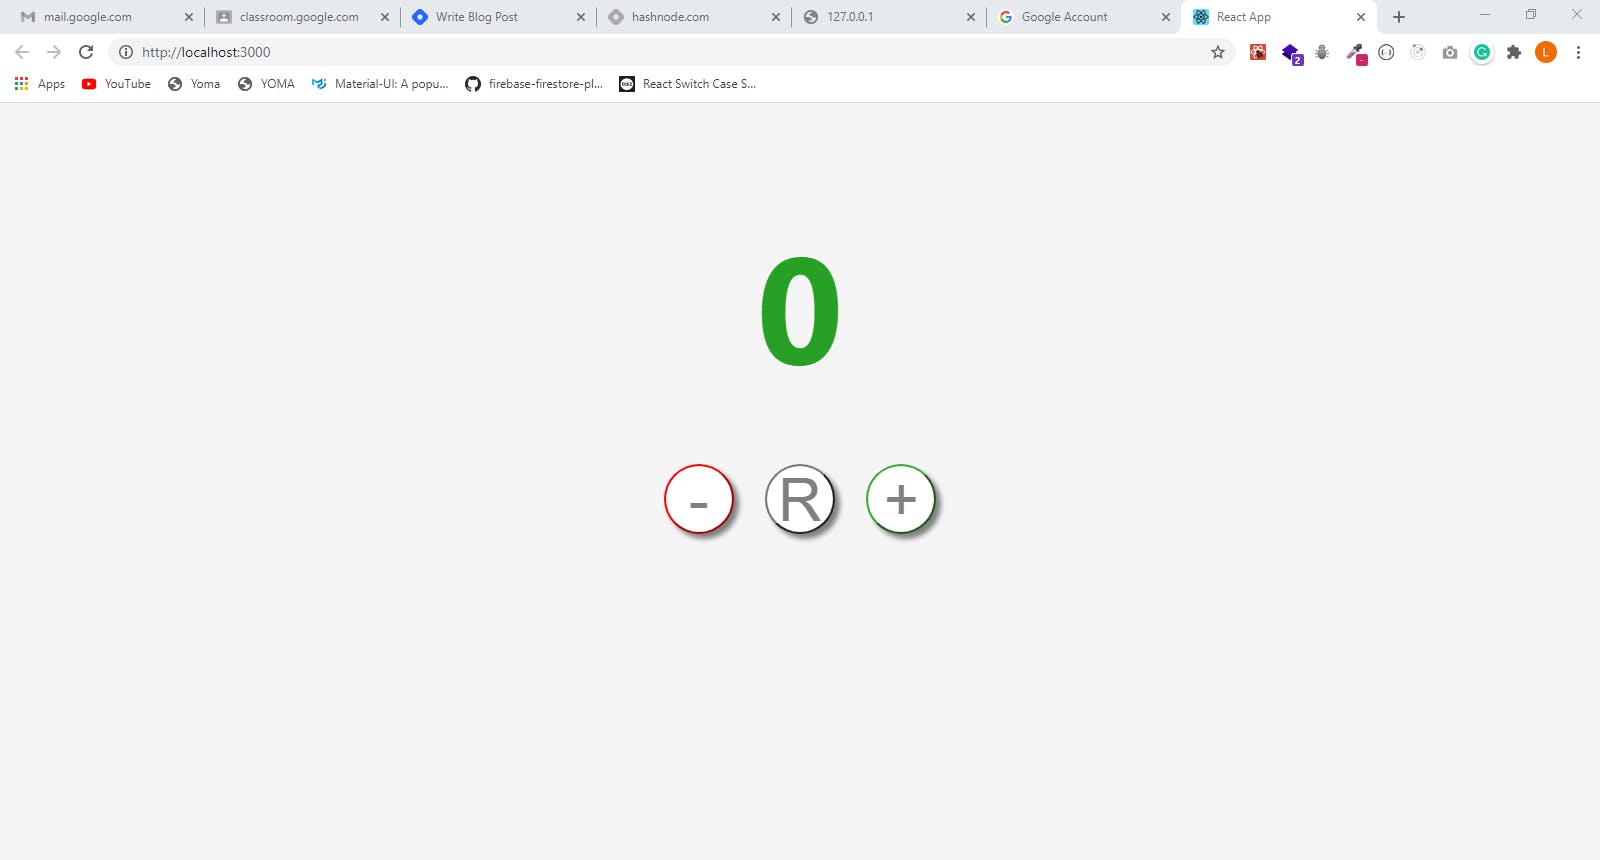
Moving forward, let us Build a Simple Counter Application
Lets see what we will be building
Things to Note
- I will only focus on the functionality of the application
- You can check out the styling of the app here on Github
Now let's start by building out the basic structure of our application
import React  from 'react';

function App() {

  return (
    <div className="container">
      <h1>{count}</h1>
        <div className="buttons">
            <button className="decrement button">-</button>
            <button className="reset button">R</button>
            <button className="increment button">+</button>
        </div>
    </div>
  );
}

export default App;
Now let us start adding state to our application and the functions to update the state values
Here, we:
- import useState hook from react;
import React, { useState } from 'react';
define our functions/methods(functions in a class) for updating state (decreaseCount, resetCount, increaseCount) then link them through onClick event handler
<button className="increment button" onClick={increaseCount}>+</button>
import React  from 'react';

function App() {

const [count, setCount] = useState(0);

  const increaseCount = () => {
    setCount(count + 1);
  }

  const decreaseCount = () => {
    setCount(count - 1);
  }

  const resetCount = () => {
    setCount(0)
  }

  return (
    <div className="container">
      <h1>{count}</h1>
        <div className="buttons">
            <button className="decrement button" onClick={decreaseCount}>-</button>
            <button className="reset button" onClick={resetCount}>R</button>
            <button className="increment button" onClick={increaseCount}>+</button>
        </div>
    </div>
  );
}

export default App;
I must add that the way we use the setter function in the code above works, but its not advisable as there is a safer way of approaching it. I'll talk about it soonest.
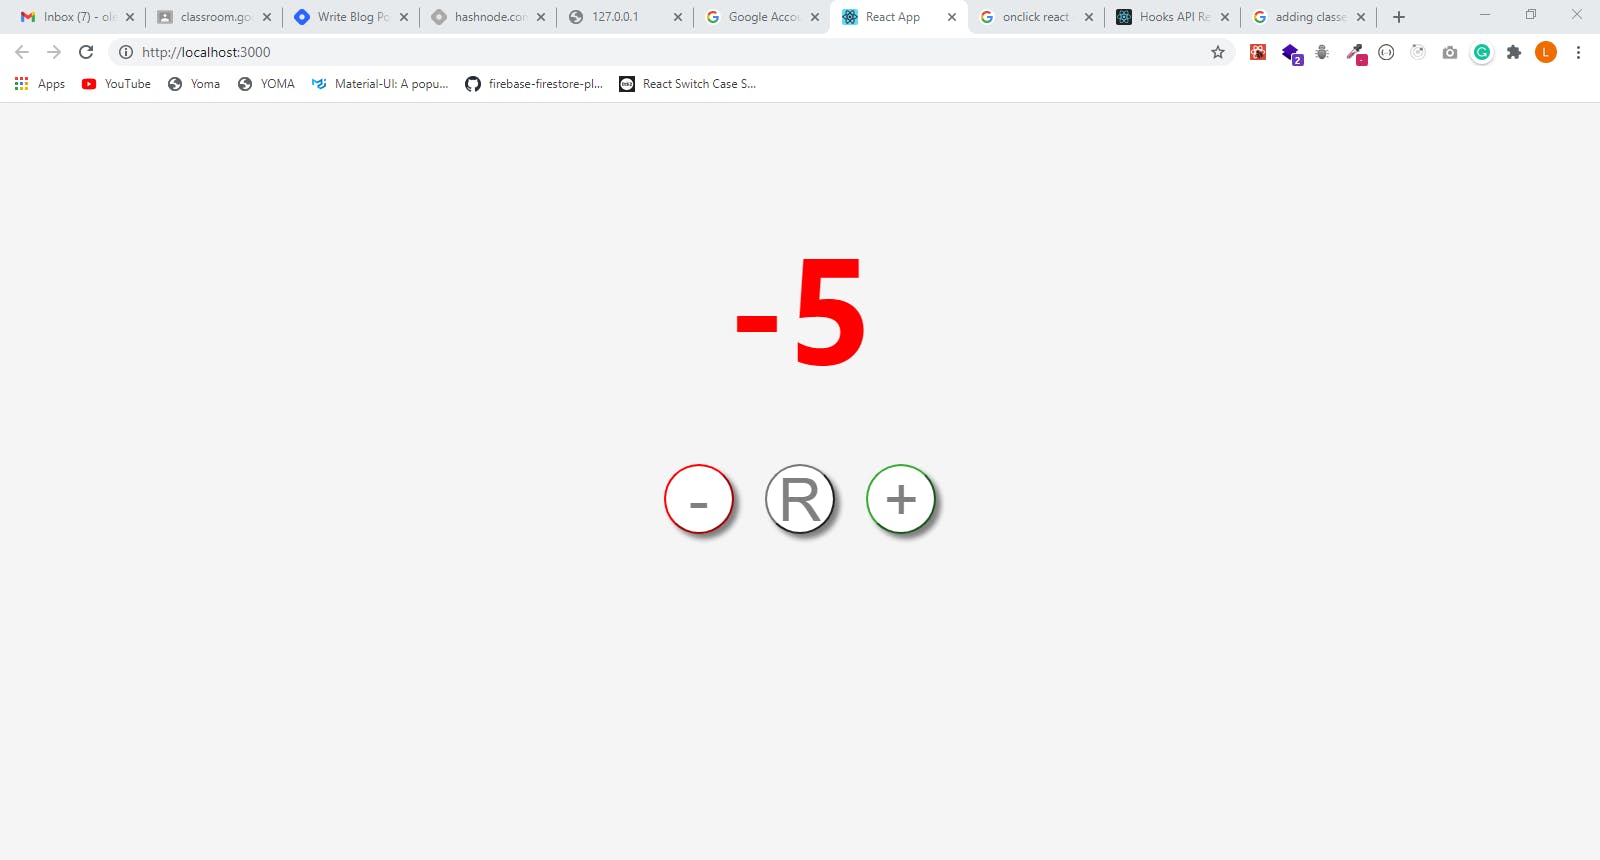
Now down to our final feature, we will implement or make the count state variable change color(actually spelt colour, but in code its color) to red if it is below 0(count < 0)
- In your css file, add the following
.red{
      color: red;
}

.green{
     color: ;
}
- Then on the h1 tag, add the code below
<h1 className={count < 0 ? "red" : "green"}>{count}</h1>
 // so depending on the result, it targets the result of the className expression in the css file
So from the above code, we are using the Tenary Operator in javascript to conditionally render the color of the count variable. The Tenary Operator is similar to if-else in javascript, All it's means is
if(count < 0){
     color = red;
} else{
     color = green;
}
Thanks for reading!
I appreciate you for making out time to read my article. Please like and share my article.
Alternatively you can connect with me on Twitter
Cheers!